Introduction:
In today's digital age, a stable and reliable Wi-Fi network is essential for staying connected to the world around us. Whether you're streaming movies, working from home, or simply browsing the web, a well-configured home Wi-Fi network can make all the difference. In this guide, we'll walk you through the step-by-step process of setting up your own home Wi-Fi network, ensuring a seamless and hassle-free experience for all your connected devices.
Step 1: Choose the Right Equipment
Before diving into the setup process, it's important to ensure you have the right equipment on hand. You'll need a wireless router, preferably one with dual-band capabilities for improved performance, and compatible modem if your ISP requires it. Additionally, consider factors such as coverage area, number of devices, and future scalability when selecting your router.
Step 2: Position Your Router Strategically
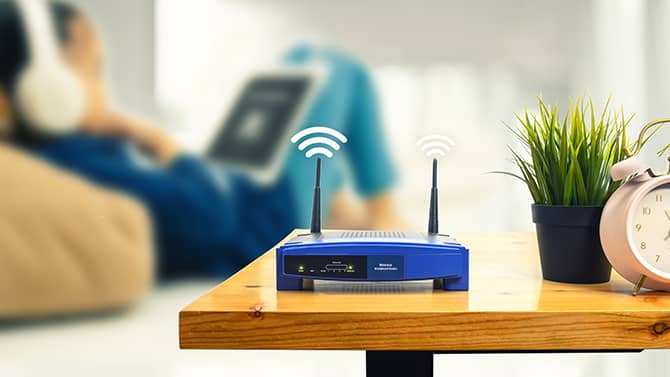
The placement of your router can significantly impact the performance and coverage of your Wi-Fi network. Ideally, place your router in a central location within your home, away from obstructions such as walls and electronic devices that may interfere with the signal. Elevating the router to a higher position can also help improve coverage.
Step 3: Connect Your Modem and Router
If you have a separate modem and router, connect them using an Ethernet cable. Ensure that both devices are powered on and properly configured according to the manufacturer's instructions. If your router has a setup wizard, follow the on-screen prompts to establish a connection to your modem.
Step 4: Access the Router's Settings
To configure your Wi-Fi network, you'll need to access your router's settings through a web browser. Consult the user manual or manufacturer's website for instructions on how to log in to your router's admin panel. Typically, you'll enter the router's IP address into the browser's address bar and log in using the default username and password provided.
Step 5: Configure Wi-Fi Settings
Once logged in, navigate to the wireless settings section of the router's admin panel. Here, you can customize your Wi-Fi network name (SSID) and password to your preference. Choose a unique and secure password to prevent unauthorized access to your network. You can also configure additional settings such as network encryption and guest access if desired.
Step 6: Optimize Network Settings
To ensure optimal performance, take advantage of features such as Quality of Service (QoS) and channel selection offered by your router. QoS allows you to prioritize certain types of traffic, such as gaming or video streaming, for a smoother experience. Experiment with different channels to minimize interference and maximize Wi-Fi speed and reliability.
Step 7: Test Your Wi-Fi Network
Once you've configured your Wi-Fi settings, it's time to test your network to ensure everything is working as intended. Connect your devices to the Wi-Fi network using the new SSID and password, and perform speed tests and connectivity checks to verify stability and performance.
Conclusion:
Congratulations! You've successfully set up your own home Wi-Fi network from scratch. By following these steps and implementing best practices for Wi-Fi setup and configuration, you can enjoy a fast, reliable, and secure internet connection for all your devices. If you encounter any issues along the way, don't hesitate to consult the router's user manual or seek assistance from technical support. Happy browsing!


No comments:
Post a Comment