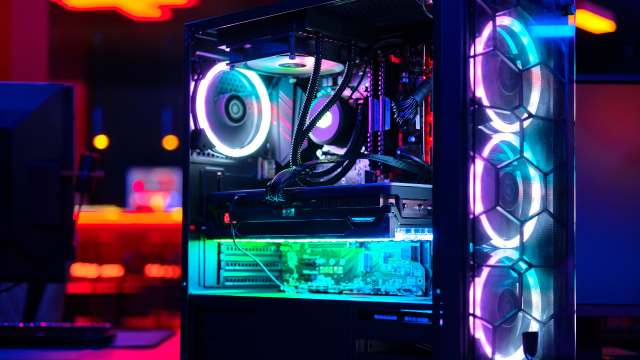
Are you ready to take your gaming experience to the next level? Building your own gaming PC can be a rewarding and exhilarating experience, allowing you to customize every aspect of your rig to suit your preferences and budget. In this guide, we'll walk you through the process of building your own gaming PC, from selecting components to assembling the hardware and getting everything up and running.
Step 1: Planning Your Build
Before you start shopping for components, it's essential to plan your build carefully. Consider factors such as your budget, desired performance level, and specific gaming needs. Research different components, including the CPU, GPU, RAM, storage, motherboard, and power supply, to ensure compatibility and optimal performance.
Step 2: Selecting Components
Once you've outlined your build plan, it's time to start selecting components. Look for high-quality components from reputable manufacturers that offer the performance and features you need. Compare prices from different retailers to find the best deals, and consider factors such as warranty coverage and customer reviews when making your selections.
Step 3: Assembling the Hardware
With all your components in hand, it's time to roll up your sleeves and start assembling your gaming PC. Follow these general steps:
- Install the CPU onto the motherboard, ensuring proper alignment and applying thermal paste if necessary.
- Install the RAM modules into the appropriate slots on the motherboard, following the manufacturer's instructions.
- Install the motherboard into the case, securing it with screws and ensuring proper cable management.
- Install the GPU into the appropriate PCIe slot on the motherboard and secure it with screws.
- Install storage drives (SSD/HDD) and connect them to the motherboard using SATA cables.
- Install the power supply unit (PSU) into the case and connect it to the motherboard, GPU, and other components using appropriate power cables.
- Connect case fans, USB ports, audio jacks, and other peripherals to the motherboard as needed.
- Double-check all connections and ensure everything is securely in place.
Step 4: Installing Drivers and Software
Once your hardware is assembled, it's time to power on your gaming PC and install drivers and software. Install the operating system of your choice (e.g., Windows, Linux) onto your storage drive and follow the on-screen instructions to complete the installation. Then, install drivers for your motherboard, GPU, and other components from the manufacturer's website to ensure optimal performance and compatibility.
Step 5: Testing and Optimization
With your gaming PC up and running, it's time to put it through its paces and ensure everything is working correctly. Run benchmark tests to gauge performance levels and tweak settings as needed to optimize performance. Monitor temperatures and system stability to ensure everything is running smoothly, and address any issues that arise promptly.
Conclusion
Building your own gaming PC is a rewarding and empowering experience that allows you to create a customized gaming rig tailored to your preferences and needs. By following this step-by-step guide and exercising caution and attention to detail, you can build a high-performance gaming PC that will provide countless hours of gaming enjoyment for years to come. So, roll up your sleeves, dive in, and happy gaming!


No comments:
Post a Comment