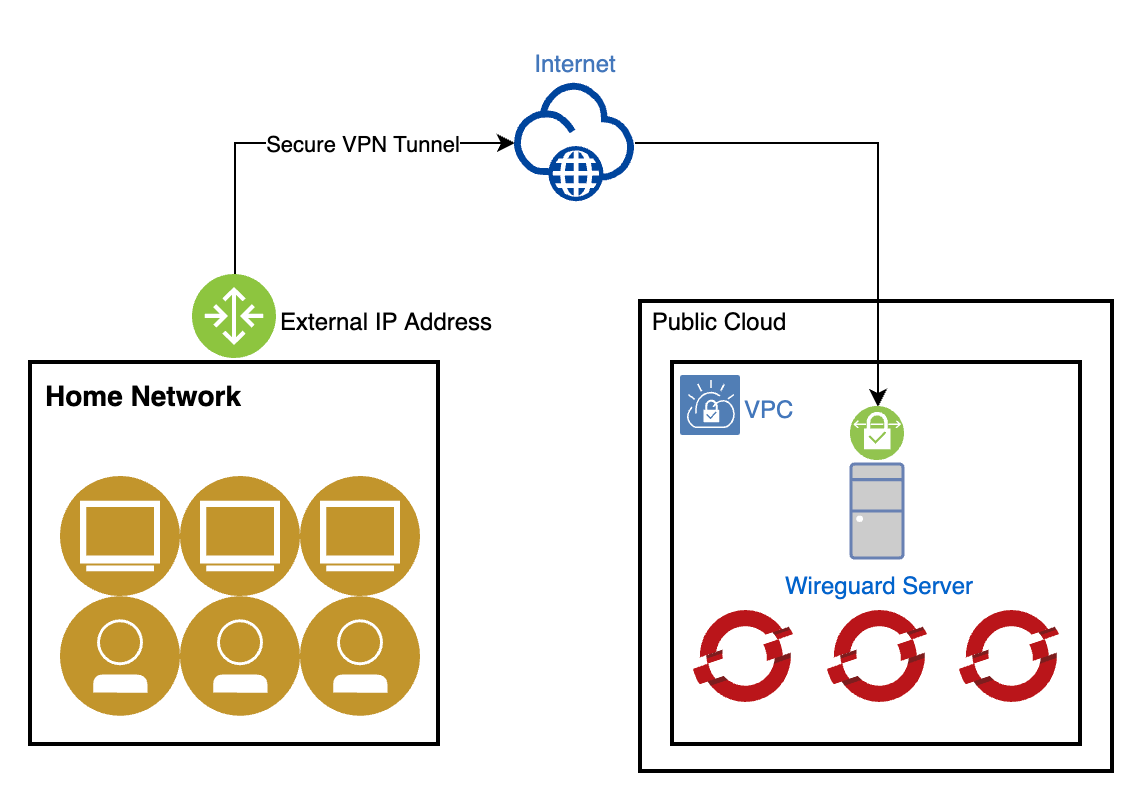
In today's digital age, protecting your online privacy is more important than ever. One of the most effective tools for safeguarding your internet connection is a Virtual Private Network, or VPN. A VPN encrypts your internet traffic and disguises your online identity, making it more difficult for third parties to track your activities or steal data. In this tutorial, we'll guide you through the process of choosing, installing, and configuring a VPN on your devices.
Step 1: Choose the Right VPN Service
Before you can install a VPN, you need to choose a service that fits your needs. Consider the following factors:
- Security: Look for VPNs that offer strong encryption methods and a no-logs policy.
- Speed: Ensure the VPN has high-speed servers to avoid slowing down your internet connection.
- Server Locations: The more server locations a VPN has, the better the service in terms of finding a fast and reliable connection.
- Price: Compare pricing plans and decide if you need a free version or if you're willing to pay for premium features.
- Compatibility: Make sure the VPN supports all the devices you want to protect.
Popular VPN services include NordVPN, ExpressVPN, CyberGhost, and Surfshark, among others.
Step 2: Sign Up and Download the VPN App
Once you've chosen a VPN service, sign up on their website. Most services offer various subscription plans. After signing up, download the VPN app for your device. VPN services usually have apps for Windows, MacOS, iOS, Android, and sometimes even extensions for web browsers.
Step 3: Install the VPN App
Open the downloaded file and follow the installation instructions. This process is generally straightforward: agree to the terms of service, select a destination folder, and click 'Install'. Once the installation is complete, launch the application.
Step 4: Log In and Connect to a Server
When you open the app for the first time, you'll need to log in with the account you created. After logging in, you'll see a list of servers or a map showing their locations. To connect, simply click on a server location or use the 'Quick Connect' feature, which selects the best server for you automatically.
Step 5: Configure VPN Settings (Optional)
Most VPN apps are ready to use right after installation, but you might want to tweak some settings for a better experience:
- **Auto-Connect**: Enable this feature to have your VPN automatically connect when you start your device or when it detects an unsecured Wi-Fi network.
- **Kill Switch**: This feature blocks internet access if the VPN connection drops, preventing data leaks.
- **Split Tunneling**: This allows you to choose which apps use the VPN and which don’t, useful for accessing local websites or services.
Step 6: Verify the VPN Connection
To ensure your VPN is working correctly, you can visit a site like ipleak.net. This site shows your current IP address and location. If the IP address and location displayed are different from your actual ones, your VPN is working correctly.
Conclusion
Installing and configuring a VPN is a simple yet effective way to enhance your online security and privacy. By following these steps, you can enjoy a safer internet experience across all your devices. Remember, no online security tool is 100% foolproof, but a VPN is a significant step toward protecting your digital life.


No comments:
Post a Comment