How to Recover Deleted Files on Windows/MacOS

Have you ever accidentally deleted an important file and thought it was gone forever? Don't panic just yet! In this guide, we'll show you how to recover deleted files on both Windows and MacOS systems. Whether it's a crucial document, a cherished photo, or an essential project file, there's hope for retrieving it. Let's dive in!


For Windows:


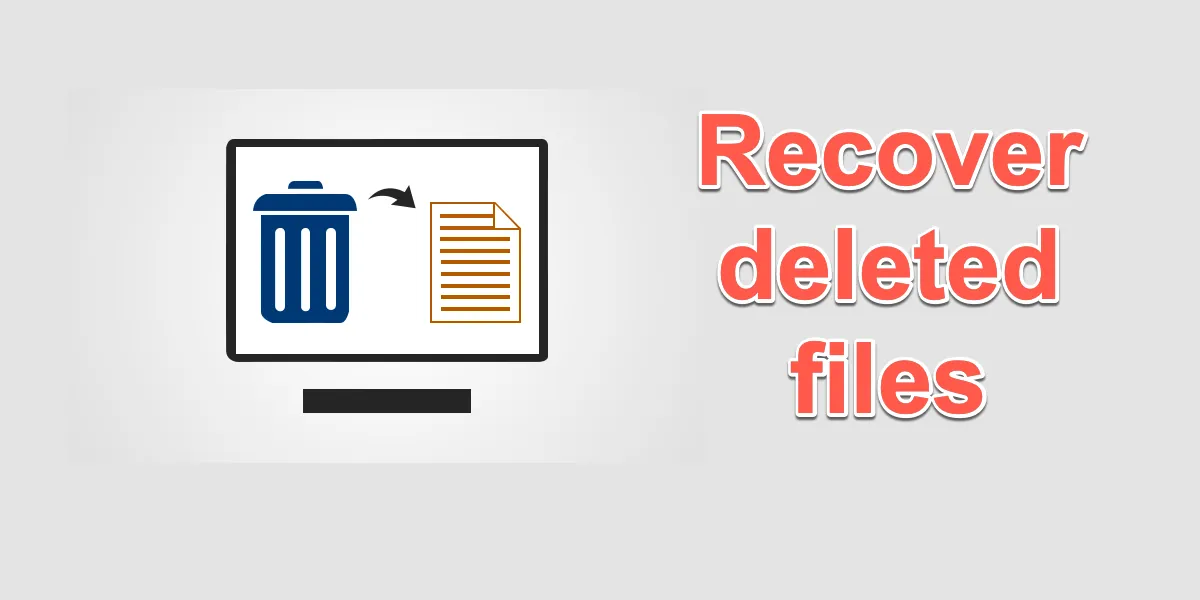
1. Check the Recycle Bin: The first place to look for deleted files on Windows is the Recycle Bin. Double-click on the Recycle Bin icon on your desktop to open it. If you find the deleted file here, simply right-click on it and select "Restore" to return it to its original location.


2. Use File History (Windows 10/11): If you've enabled File History on your Windows 10 or 11 system, you can recover previous versions of files. Search for "File History" in the Start menu, then select "Restore your files with File History" and follow the prompts to locate and recover your deleted files.


3. Try Data Recovery Software: If the above methods don't work, consider using third-party data recovery software like Recuva, EaseUS Data Recovery Wizard, or Stellar Data Recovery. Install the software, scan your hard drive for deleted files, and follow the on-screen instructions to recover them.


For MacOS:


1. Check the Trash: Similar to the Recycle Bin on Windows, MacOS has a Trash folder where deleted files are temporarily stored. Click on the Trash icon in the Dock to open it. If you find your deleted file here, drag it back to the desktop or the desired location to restore it.


2. Use Time Machine: If you've set up Time Machine for backups on your MacOS system, recovering deleted files is a breeze. Launch Time Machine by clicking on its icon in the menu bar or searching for it in Spotlight. Navigate to the date when the file was still available, select it, and click "Restore" to bring it back.


3. Employ Data Recovery Software: In case your deleted file isn't in the Trash or covered by Time Machine, you can turn to data recovery software like Disk Drill, Data Rescue, or TestDisk. Download and install the software, scan your hard drive for deleted files, and follow the instructions to recover them.


Remember, the key to successful file recovery is acting quickly. Avoid saving new files or installing new software on the affected drive to prevent overwriting the deleted data. With these methods at your disposal, you can often retrieve your precious files and breathe a sigh of relief.


How to Back Up and Transfer Data from Your Smartphone to Your Computer

In an era where our smartphones are extensions of our personal and professional lives, safeguarding the plethora of information they hold is paramount. Whether you're transitioning to a new device, looking to free up space, or simply aiming to secure your data against unforeseen events, understanding how to efficiently back up and transfer data from your smartphone to your computer is essential. This comprehensive guide will walk you through the steps to accomplish this task seamlessly, regardless of whether you use an Android or iOS device.


For Android Users


Step 1: Choose Your Method


For Android users, several methods are available for backing up and transferring data, including using Google's backup services, third-party apps, or manually transferring files. One straightforward method is to utilize Google Drive.


Step 2: Using Google Drive


1. Google Backup: Ensure your Google account is linked to your phone. Navigate to 'Settings' > 'System' > 'Backup', and turn on 'Back up to Google Drive'. This step ensures your app data, Wi-Fi passwords, and various settings are safely stored in the cloud.


2. Manual Backup: For photos and videos, Google Photos offers a simple solution. Install the app if it isn't already on your device, and enable 'Backup & Sync' within its settings. This will automatically upload your media to the cloud, accessible from any device with internet access.


Step 3: Transfer to Computer


To transfer these files to your computer:

- Visit [drive.google.com](https://drive.google.com) or [photos.google.com](https://photos.google.com) on your browser.

- Sign in with the same Google account used on your smartphone.

- You can now download your data directly to your computer for local storage.


Manual Transfer via USB


For a direct transfer without the cloud:

- Connect your Android device to your computer using a USB cable.

- On your phone, tap the notification that says "Charging this device via USB".

- Select 'File Transfer' under 'Use USB for'.

- Your phone will appear as a drive on your computer. Simply drag and drop files from your phone to your desired location on your computer.


For iOS Users


Step 1: Choose Your Backup Method


iOS users can back up their data using iCloud or iTunes/Finder.


Step 2: Using iCloud


1. Enable iCloud Backup: Go to 'Settings' > [Your Name] > 'iCloud' > 'iCloud Backup'. Ensure 'iCloud Backup' is toggled on. Your device will automatically back up data whenever it's connected to Wi-Fi and plugged into a charging source.


2. Manual Backup: You can also manually initiate a backup by tapping 'Back Up Now' in the same menu.


Step 3: Transfer to Computer


To access your iCloud data on a computer:

- Navigate to [icloud.com](https://www.icloud.com/) and log in with your Apple ID.

- You can view and download your photos, documents, and more to your computer.


Using iTunes/Finder


1. Connect Your Device: Plug your iPhone into your computer and open iTunes (on Windows or macOS Mojave and earlier) or Finder (on macOS Catalina and later).

2. Back Up Your Device: In iTunes, click on the device icon and select 'Back Up Now'. In Finder, select your device under 'Locations' and click 'Back Up Now'.

3. Transfer Files: You can also use iTunes/Finder to manage and transfer specific files like music, videos, and photos between your device and computer.


Conclusion


Regularly backing up and transferring data from your smartphone to your computer not only secures your valuable information but also provides peace of mind. Whether you're an Android or iOS user, the process can be straightforward and significantly mitigates the risk of data loss. Remember to perform backups regularly and before making any major changes to your device or its software.

How to Protect Yourself from Phishing Scams: Recognizing and Avoiding Them

In the digital age, staying safe online is more crucial than ever. Phishing scams are among the most common and effective methods used by cybercriminals to steal sensitive information, such as passwords, credit card numbers, and personal data. Fortunately, with awareness and vigilance, you can protect yourself from falling victim to these scams. In this guide, we'll explore how to recognize phishing attempts and avoid them effectively.


What is Phishing?


Phishing is a type of cyber attack where fraudsters impersonate legitimate organizations or individuals to trick users into providing confidential information or downloading malicious software. These scams often occur via email, text messages, or fake websites designed to look like reputable sources.


How to Recognize Phishing Attempts:


1. Check the Sender's Email Address: Be wary of emails from unfamiliar or suspicious addresses. Pay close attention to misspellings or subtle variations in domain names that may indicate a fraudulent sender.


2. Look for Urgency or Alarmist Language: Phishing emails often use urgent language or threats to pressure recipients into taking immediate action. Beware of messages claiming that your account will be suspended unless you provide information promptly.


3. Verify Requests for Personal Information: Legitimate organizations typically won't ask you to provide sensitive information such as passwords or credit card numbers via email. If in doubt, contact the company directly through official channels to confirm the request's authenticity.


4. Inspect Links and URLs: Hover your mouse over hyperlinks in emails to reveal the destination URL. Be cautious of links that redirect to unfamiliar or suspicious websites, especially those with slight variations in spelling or domain names.


5. Watch for Generic Greetings: Phishing emails often use generic greetings like "Dear Customer" instead of addressing recipients by name. Legitimate communications from reputable companies are more likely to use personalized salutations.


6. Be Skeptical of Attachments: Avoid opening email attachments from unknown senders, as they may contain malware or viruses. Even attachments from seemingly trusted sources should be treated with caution if unexpected or unusual.


How to Avoid Falling Victim to Phishing Scams:


1. Educate Yourself and Others: Stay informed about the latest phishing tactics and share this knowledge with friends, family, and colleagues. Awareness is key to preventing successful phishing attacks.


2. Use Multi-Factor Authentication (MFA): Enable MFA whenever possible to add an extra layer of security to your accounts. This requires additional verification beyond just a password, making it harder for attackers to gain unauthorized access.


3. Install Security Software: Use reputable antivirus and anti-phishing software to help detect and block malicious threats. Keep your security software up to date to ensure optimal protection against evolving cyber threats.


4. Keep Software and Systems Updated: Regularly update your operating system, web browsers, and applications to patch security vulnerabilities. Hackers often exploit outdated software to launch phishing attacks and infiltrate systems.


5. Trust Your Instincts: If something seems suspicious or too good to be true, it probably is. Trust your instincts and err on the side of caution when interacting with unfamiliar or unsolicited messages, links, or attachments.


By staying vigilant and following these best practices, you can significantly reduce your risk of falling victim to phishing scams. Remember to remain cautious and skeptical of unsolicited communications, and always verify the authenticity of requests for personal or sensitive information. With awareness and proactive security measures, you can safeguard your online accounts and protect yourself from cyber threats. Stay safe online!

How to Safely Shop Online: Tips for Secure E-commerce Transactions

In today's digital age, online shopping has become increasingly popular for its convenience and accessibility. However, with the rise of cyber threats and online scams, it's essential to prioritize security when making e-commerce transactions. Whether you're buying clothes, gadgets, or groceries online, following these tips can help you shop safely and protect your sensitive information.


1. Shop from Secure Websites:

 Before making a purchase, ensure that you're on a secure website. Look for "https://" in the URL and a padlock symbol in the address bar, indicating that the site is encrypted and secure.


2. **Use Trusted Retailers**: 

Stick to reputable online retailers and avoid unfamiliar websites that may not have robust security measures in place. Check reviews and ratings from other customers to gauge the reliability of the seller.


3. Update Your Device and Software: 

Keep your computer, smartphone, and browser up to date with the latest security patches and updates. Outdated software may have vulnerabilities that hackers can exploit.


4. **Beware of Phishing Emails**: 

Be cautious of emails claiming to be from retailers asking for your personal or financial information. Legitimate companies will not ask for sensitive details via email. Avoid clicking on links or downloading attachments from suspicious emails.


5. Use Strong Passwords: 

Create strong, unique passwords for your online accounts and avoid using the same password across multiple sites. Include a mix of letters, numbers, and special characters to make your passwords more secure.


6. Enable Two-Factor Authentication: 

Many e-commerce platforms offer two-factor authentication (2FA) as an extra layer of security. Enable 2FA wherever possible to add an additional barrier against unauthorized access to your accounts.


7. Monitor Your Accounts Regularly: 

Keep a close eye on your bank and credit card statements for any unauthorized transactions. Report any suspicious activity to your financial institution immediately.


8. Be Wary of Public Wi-Fi: 

Avoid making online purchases when connected to public Wi-Fi networks, as they may not be secure. Use a virtual private network (VPN) to encrypt your internet connection and protect your data while shopping on public networks.


9. Check for Secure Payment Options: 

Look for secure payment options such as credit cards, PayPal, or digital wallets like Apple Pay or Google Pay. These methods offer added layers of security and may provide buyer protection in case of fraudulent transactions.


10. Review Privacy Policies: 

Take the time to read the privacy policies of online retailers to understand how your personal information will be handled. Avoid sharing unnecessary details and opt-out of marketing communications if you prefer not to receive them.


By following these tips, you can shop online with confidence, knowing that you're taking proactive steps to safeguard your sensitive information and protect yourself from online threats. Stay vigilant and prioritize security whenever you make e-commerce transactions to ensure a safe and enjoyable shopping experience.

More Tutorials

How to Backup and Restore Your Computer Files: A Comprehensive Guide

In today's digital age, data is everything. From precious family photos to important work documents, losing these files can be a disaste...